
If you’re here, I think it’s safe to assume you either have your eye on the Almond Cow, and want to know everything about it, or you have the Almond Cow and are looking to better understand how to use it for best results!
Either way, you’re in the right place.
Why switch to plant-based milk?
- It’s healthier. There are many questionable things that commonly enter milk in the US—like antibiotics, hormones, puss, and blood cells. This can contribute to poor gut health due to a lack of good gut bacteria, as well as cause antibiotic-resistance in both cows and humans. By reducing your intake of dairy, not only will you be reducing your intake of hormones, antibiotics, puss, and blood cells, you will also be lowering your saturated fat and cholesterol intake!
- It’s better for the planet. Animal agriculture is a top contributor to the climate crisis, and cows produce more greenhouse gas emissions than any other animal.
- It’s delicious! Whether it’s nutty almond milk, creamy cashew milk, or thick oat milk, plant-based milks are delicious! With so many options to choose from, I guarantee you’ll find an option that hits the spot.
Why purchase an Almond Cow?
It allows you to be in control of the ingredients that go into your body.
Have you read ingredient labels of the most popular plant-based milk brands on the market? Did you know that most store-bought plant-based milks contain very little real ingredients? Instead, they’re loaded with questionable ingredients like gums, emulsifiers, preservatives, oils, added sugars, artificial flavors, and more.
Why settle for that when you can make your own plant-based milk at home? What you put into your body matters, and making your own plant-based milk at home allows you to know exactly what’s going into your body.
You can use as little as two ingredients in the Almond Cow (almonds and water to make almond milk, cashews and water to make cashew milk, oats and water to make oat milk, etc.). You can of course add other ingredients, like dates to sweeten the milk, and more, but the important thing is you can choose what goes into your milk without having to worry about all the extra unnecessary stuff going into it.
It saves time.
You can make any plant-based milk in less than a minute! No nut milk bags required.
Unlike using a blender for making milk, the Almond Cow automatically separates the pulp from the milk so you don’t have to! As you can imagine, this saves time, effort, and mess.

It’s sustainable.
An Almond Cow in your home saves the planet over 500 single-use plastic containers!
It’s budget-friendly.
The cost of an Almond Cow is $195. After the initial purchase, you can make 5 cups (40oz) of homemade milk for around $0.55, which is definitely cheaper than the average store-bought plant-based milk!
It makes so much more than just plant-based milks.
You can make lattes, creamers for your coffee, cocktails, lemonades and other beverages! Just to name a few. Check out all their recipes here.
If you decide to get the Almond Cow, you can get a small discount of $15 OFF with the discount code “NATALYA” at checkout.
What does the Almond Cow come with?
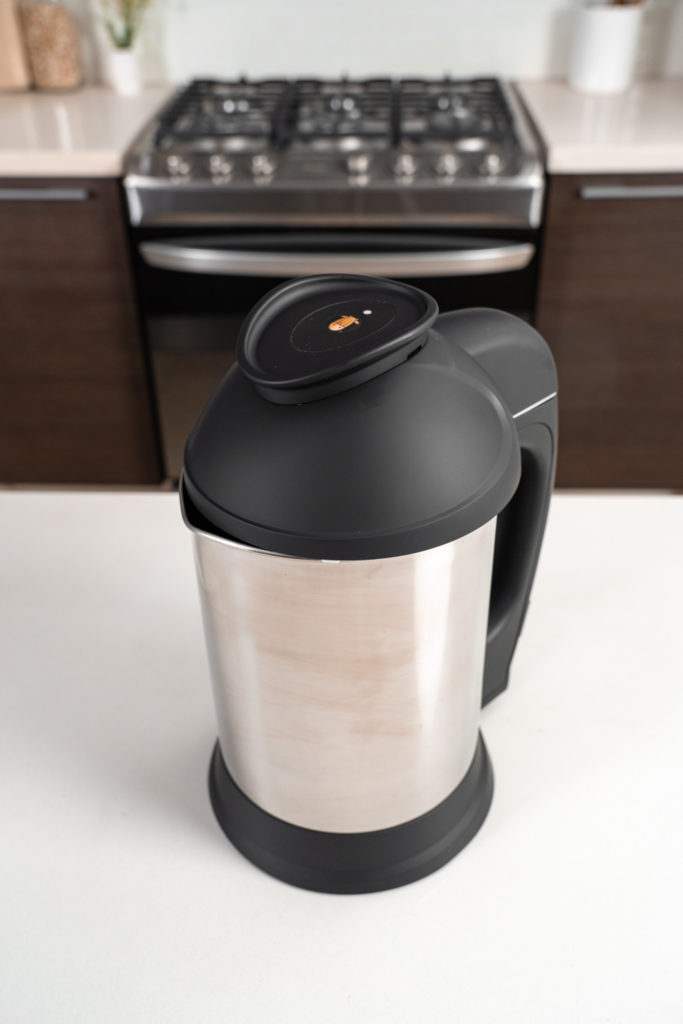
The Almond Cow on its own comes with a top, a filter basket that attaches to the top, a base, a collector cup, and a power cord.

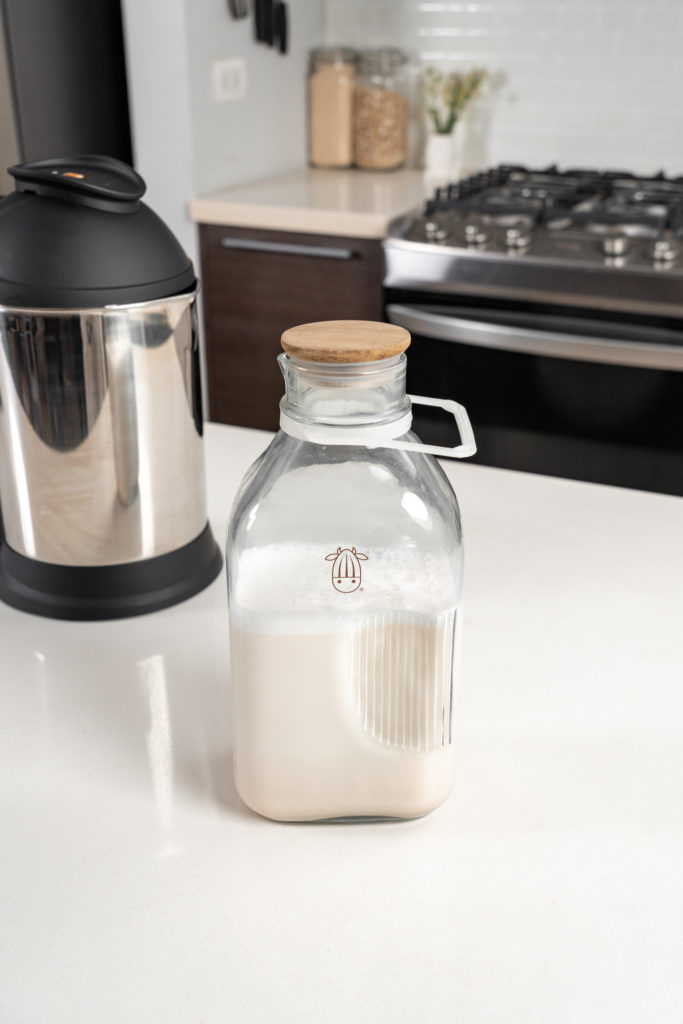
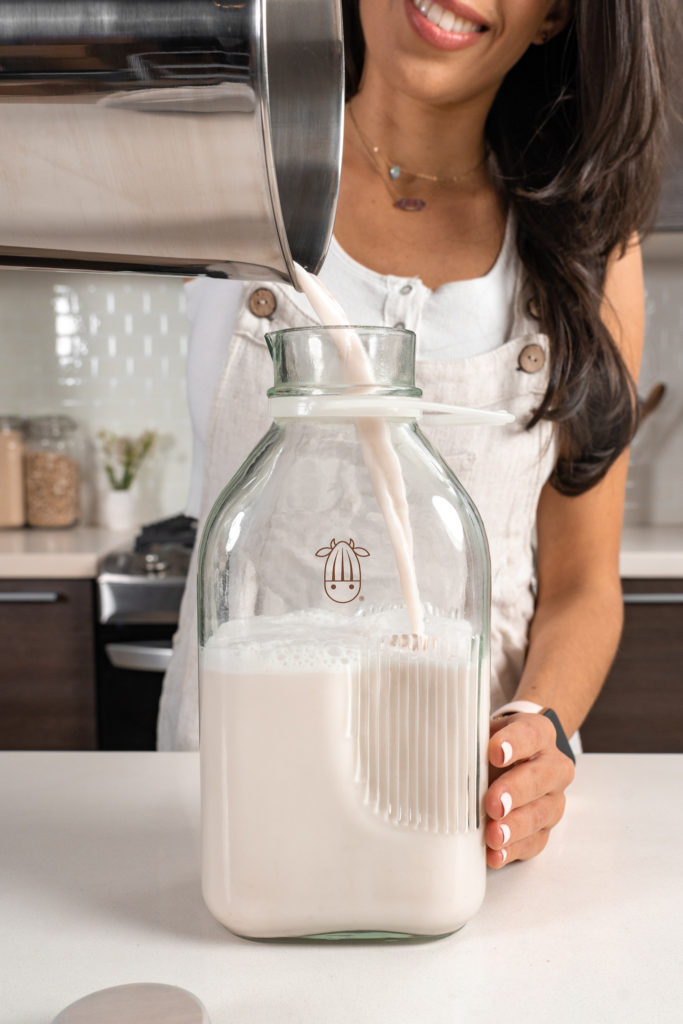
If you buy the Starter Set, it comes with an Almond Cow (everything mentioned above) along with a milk jug, brush to clean the milk jug, and one of each of their ingredients.
If you make plant-based milk often, I definitely recommend getting the Starter Set! You can use the discount code “NATALYA” for $15 OFF the Starter Set as well.
How to make plant-based milk in the Almond Cow
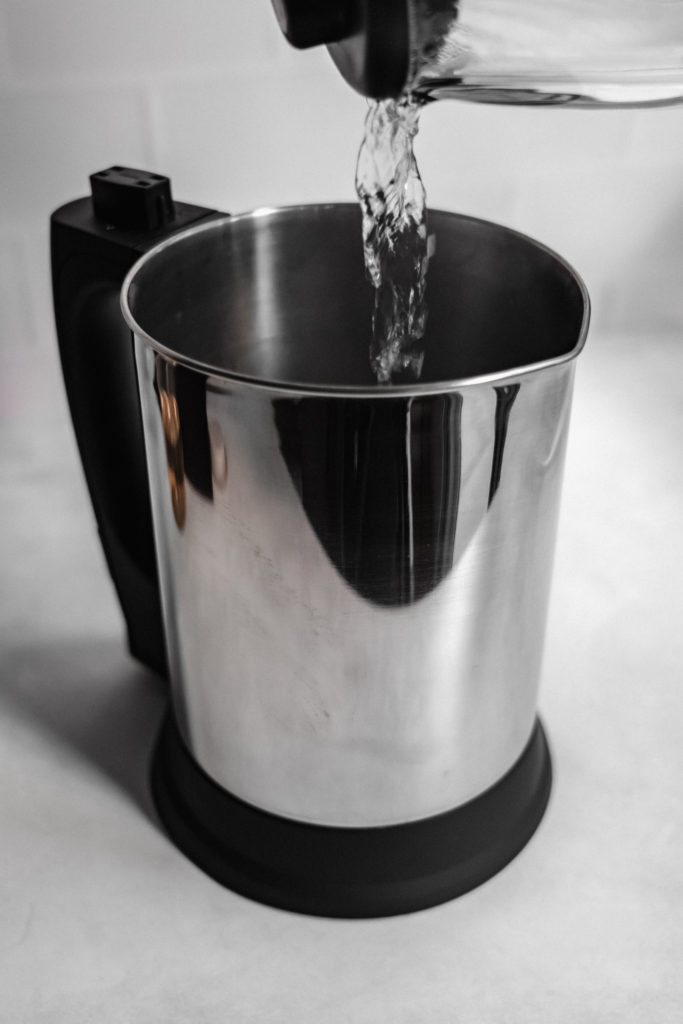
Fill the base with water to the minimum or maximum line.

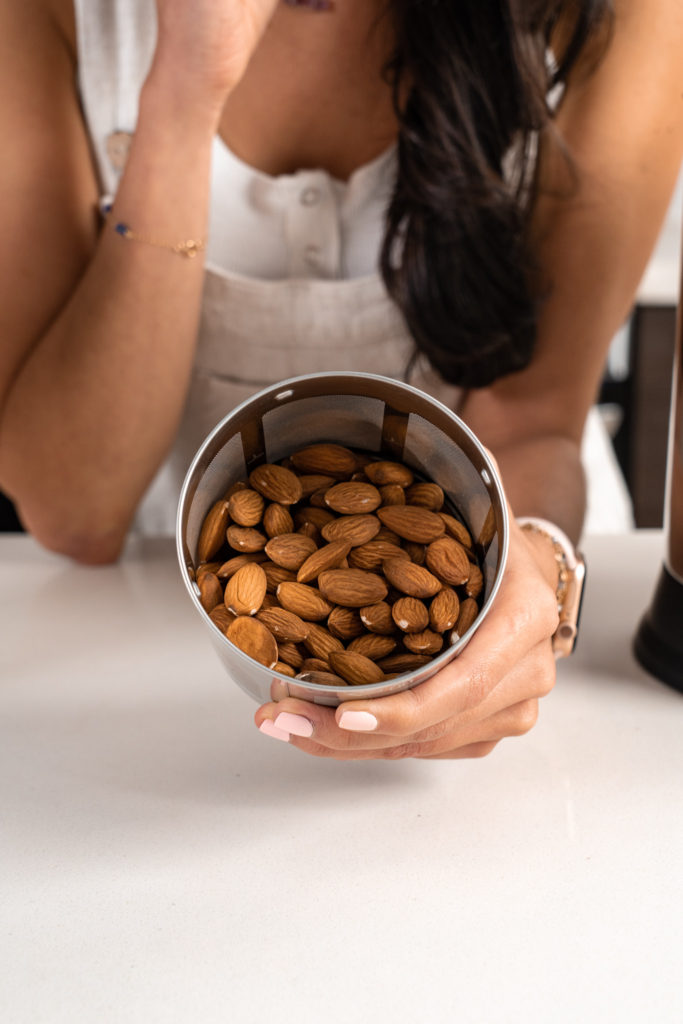
Add your ingredients of choice to the filter basket (up to the 1 cup line).
Attach the filter basket to the top. I like to give it a little shake to get the blade through the ingredients, then secure the filter basket in the lock direction.

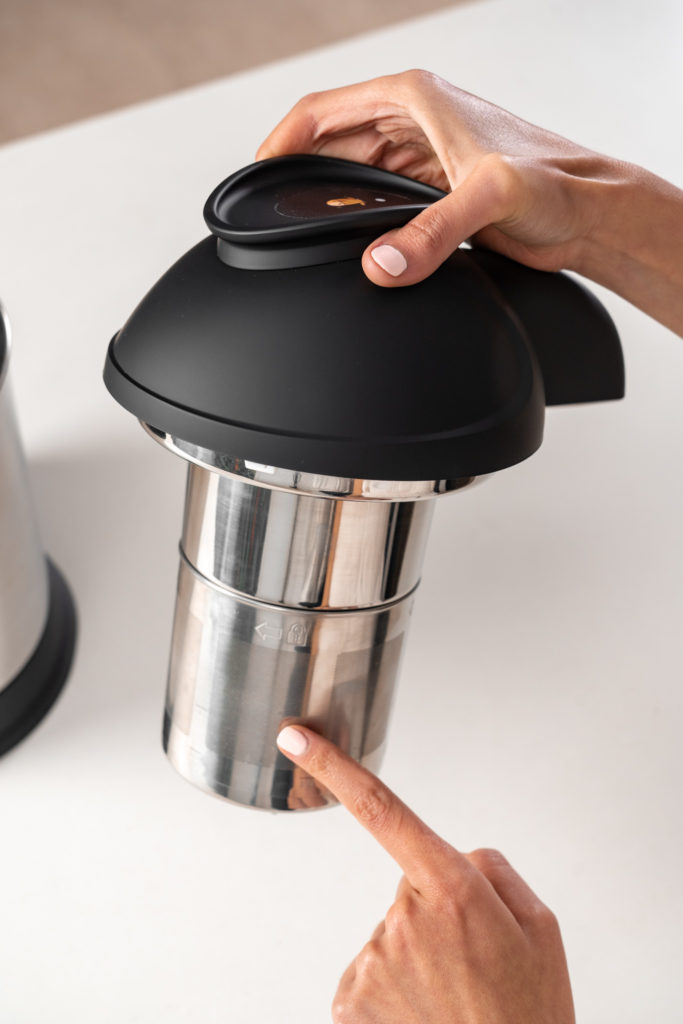
Attach the top onto the base.

Plug in the power cord.
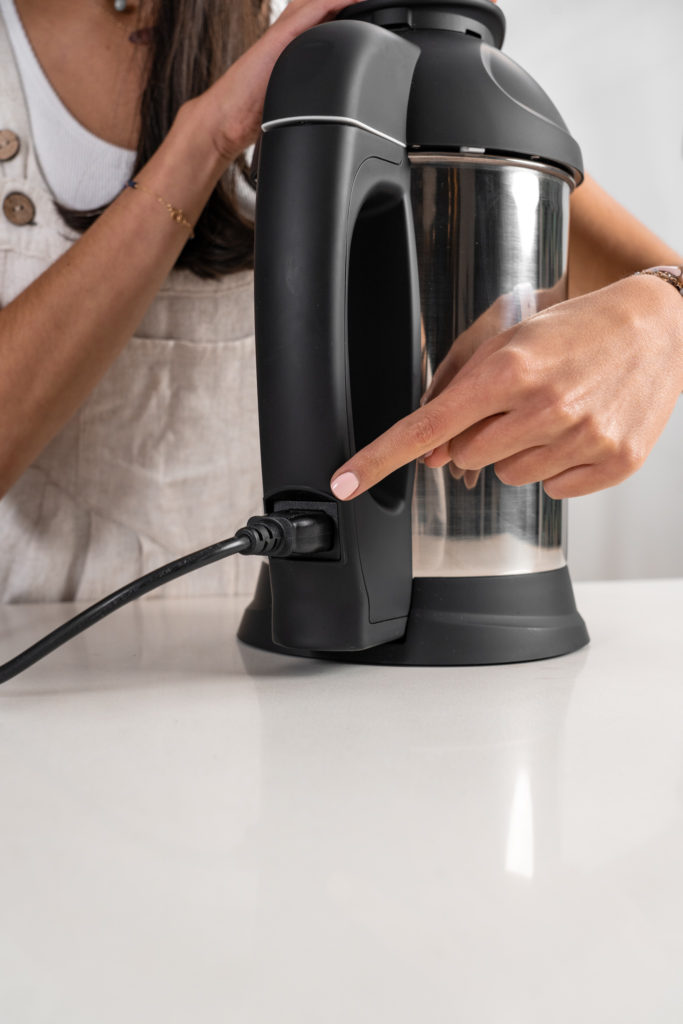
Press the cow button, and let it run for a full cycle (this is less than 1 minute). The Almond Cow has a 3-stage blending cycle, so it will stop and start blending again for a total of 3 blends.

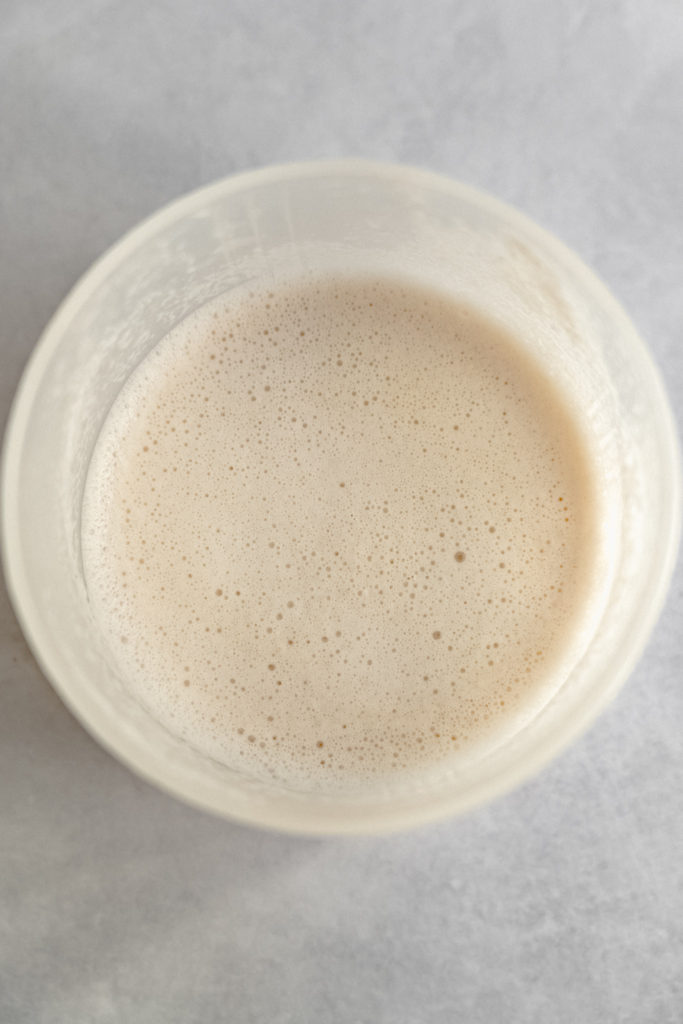
Once the full cycle is complete, the green light on the button will stop flashing and will remain solid green. That’s how you know your plant-based milk is ready!
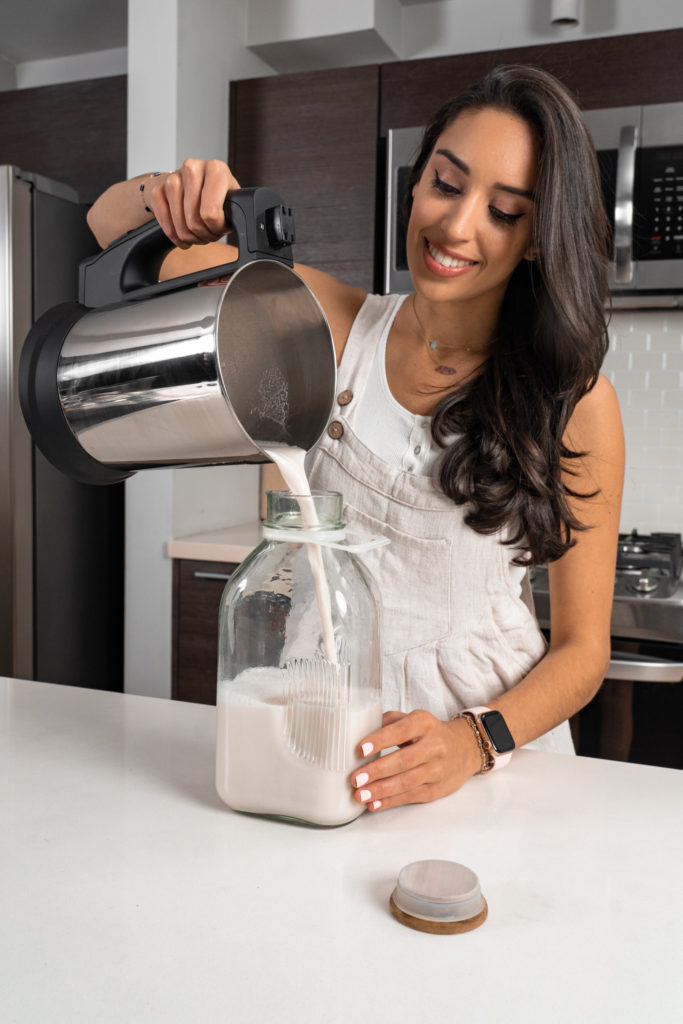
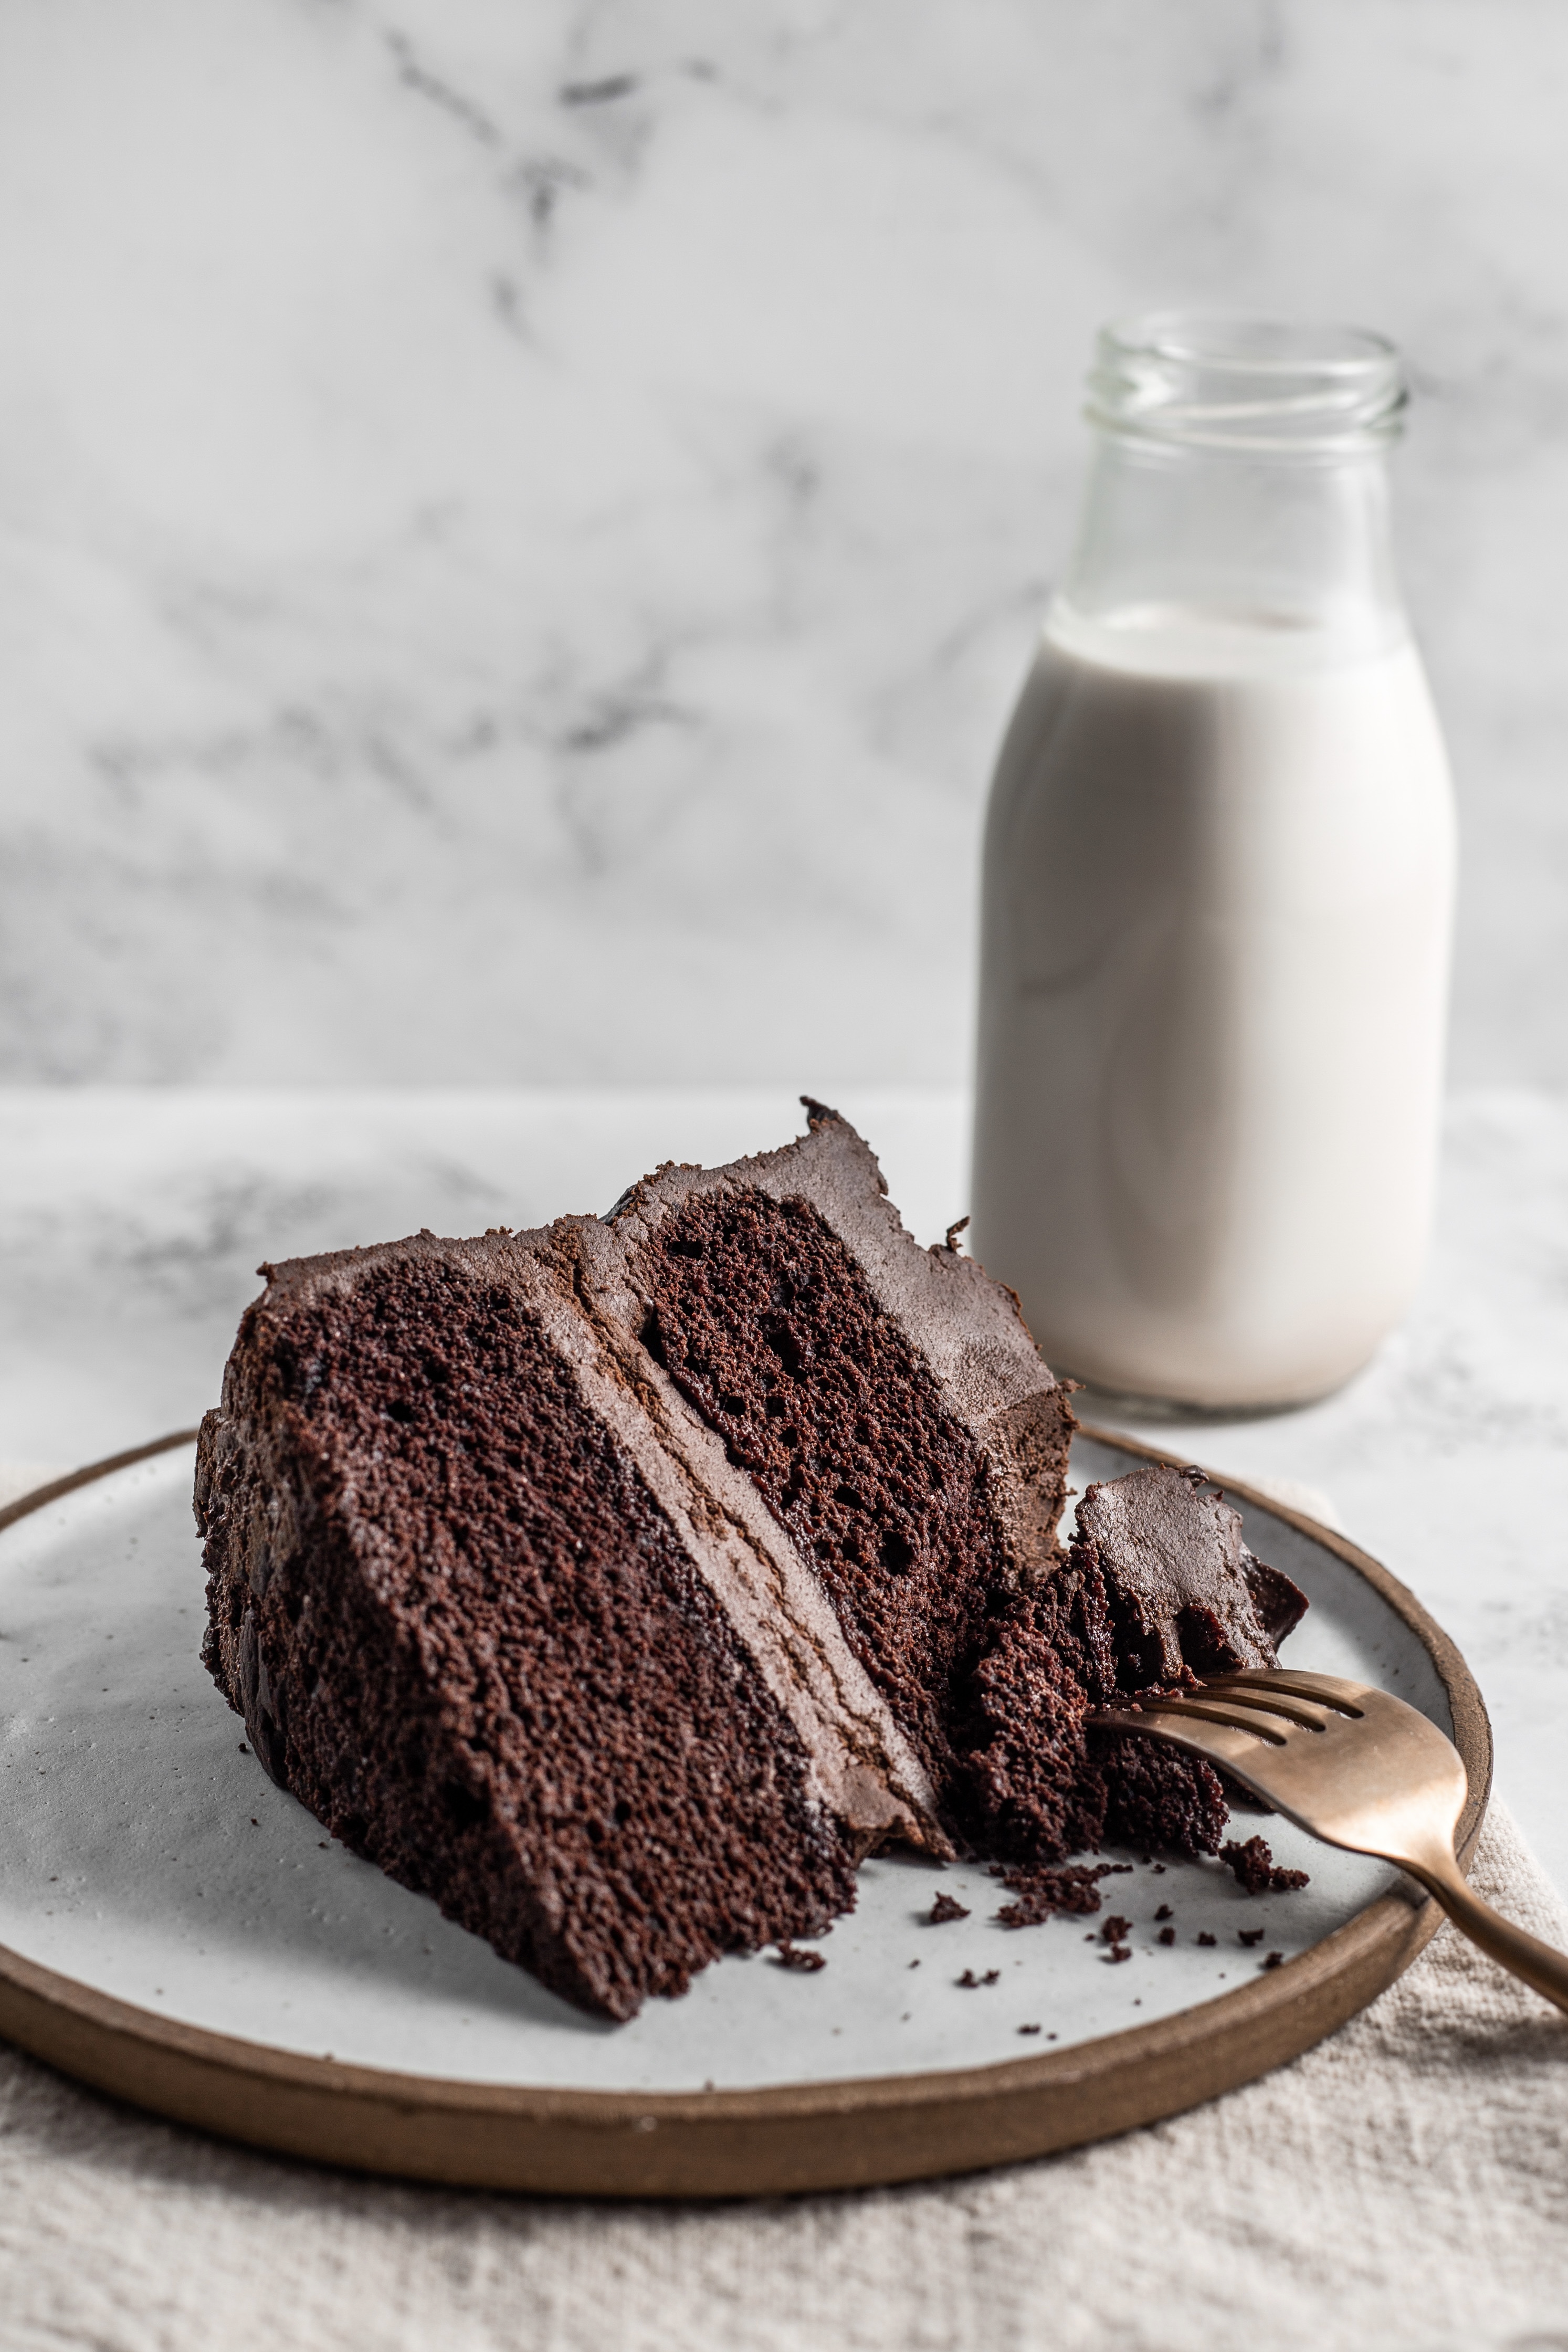
One batch makes 5-6 cups of plant-based milk. Drink alone or serve with these delicious vegan chocolate chip cookies or these healthy oatmeal chocolate chip cookies.
You can find lots of plant-based milk recipes (and more) here on Almond Cow’s website!
Check out this video I made on how to make almond milk!
How to make super creamy milk in the Almond Cow
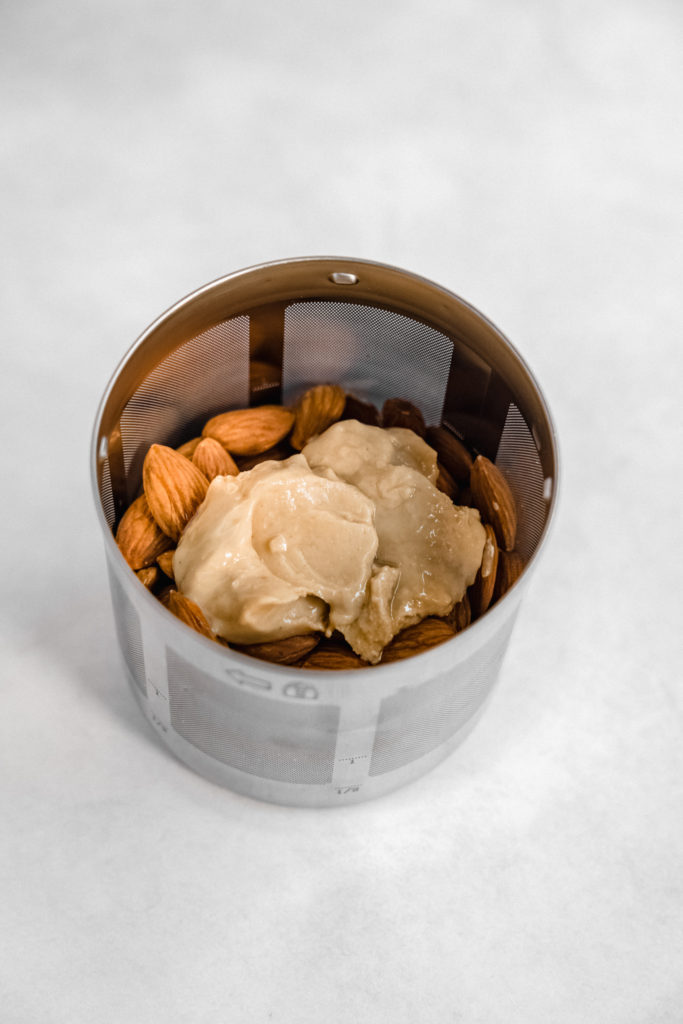
Use a combination of ingredients.
Combining ingredients helps the milk become creamier. My two personal favorite combinations are Almond Cashew and Coconut Cashew. Tip: you don’t always have to do half of one ingredient and half of the other. I absolutely LOVE adding 1 cup of almonds and 2 Tbsp cashew butter to the filter basket. This is probably my favorite creamy Almond Cow hack so far.
Almond Cow also recommends trying Coconut Oat, Pecan Cashew, Oat Cashew, and Almond Coconut!
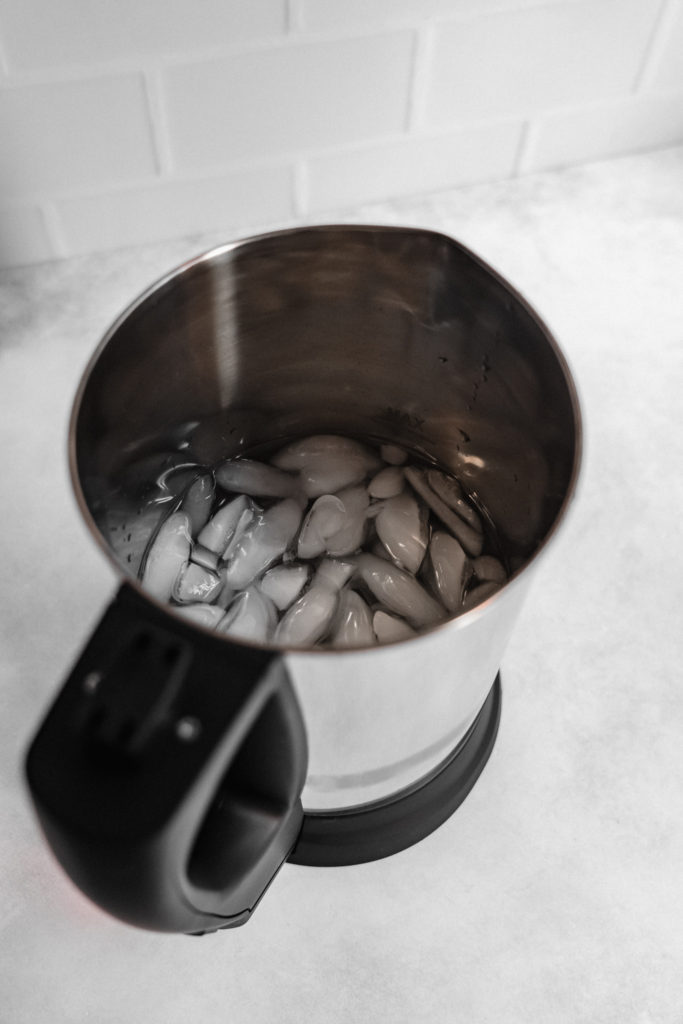
Use ice in the base.
Rather than filling the base with water to the minimum or maximum line, add less water, and float the water to the minimum of maximum line with ice.
As you can imagine, because there is less liquid, this creates a creamy, more concentrated milk. Plus, it’s cold—which, in my opinion, makes the milk even yummier!
Use hot water in the base.
Instead of room temperature water, try using hot water in the base instead. This allows for maximum extraction since the hot water helps the ingredients blend even more, which makes the milk creamier.
Add a second batch of fresh ingredients, and let the machine run again.
This one’s pretty self explanatory. Let’s say you’re making almond milk… add 1 cup of almonds to the filter basket with water to the minimum or maximum line of the base, and run the machine. Once it’s finished, empty the filter basket and add a new cup of almonds, and run the machine again.
This way, the ratio of ingredients to liquid goes up, resulting in a creamier milk.
Use the collector cup.
Instead of adding liquid to the base of the Almond Cow, you can also add the liquid to the collector cup. Then, place the collector cup inside the base, add your ingredients to the filter basket as you normally would, attach it to the top, place the top onto the base, and run the machine!
Because the collector cup only allows you to add up to 500mL of liquid (with the same 1 cup of nuts), you can imagine how much creamier this milk is. Almond Cow actually calls this their “creamer method” for making coffee creamer.
You don’t only have to use this for coffee creamer, though. It can be used for making single servings as well as super creamy milk. Note: when using this method, you don’t have to use a whole cup of ingredients in the filter basket. You can use 1/2 cup if you prefer.

If you decide to get the Almond Cow, you can get a small discount of $15 OFF with the discount code “NATALYA” at checkout.
How to clean the Almond Cow
Note: Make sure to never wet the black top! This is where the motor is. Instead, clean it with a towel.
For the everyday user, you can just rinse the machine with water. If using just water, it’s best to rinse the machine right after making milk. Avoid letting it sit for a while before rinsing.
Here’s how to rinse it:
- Unscrew the filter basket from the top.
- Empty the leftover pulp from the filter basket. You can set the pulp aside and use it to make recipes. Check out all their pulp recipes here!
- Rinse the filter basket.
- Rinse the stainless steel part of the top.
- Rinse the inside and stainless steel outside of the base. Be careful not to get water where the plug goes!
- Wipe down with a towel.
Once in a while, Almond Cow also recommends deep cleaning the machine! Here are 2 ways they suggest deep cleaning it:
- Clean it with water and soap. This method is great if you have any oily residue from making fatty milks (like coconut milk). All you have to do is add hot water to the maximum line of the base with 1/2 tsp soap, attach the empty filter basket to the top, and run the machine for a normal full cycle. You can run it twice if you feel it’s necessary!
- Clean it with water and vinegar. This method is great for disinfecting. Add 6 Tbsp white distilled vinegar to the base, add hot water to the maximum line of the base, and attach the empty filter basket to the top. Run the machine for 2 full cycles. When finished, rinse it, wipe it, and it’s ready to go!
Almond Cow recommends using all of these cleaning methods at different times depending on the state of your Almond Cow and how frequently you use it. If you’d like to see a video showing how to do these, check out this TikTok demonstrating all cleaning methods!
FAQ
How long does the Almond Cow milk last?
Almond Cow plant-based milk typically lasts 3-5 days in the fridge, depending on how much salt you add.
While salt helps extend the life of the milk (and enhance flavor), it’s not necessary.
Do you have to soak the nuts beforehand?
No, you don’t have to! Some like to soak the nuts, as they say it results in a smoother milk. So, you can if you’d like to, but it’s not necessary.
Is it normal that the milk separates overnight?
Yes, it’s totally normal! Because additives and fillers aren’t used when making homemade plant-based milk, it’s only natural that the milk separates. Just shake it up when you’re ready to drink it!
What plant-based milk froths the best?
In my experience, un-soaked almonds froth best in the Almond Cow!
If you decide to get the Almond Cow, you can get a small discount of $15 OFF with the discount code “NATALYA” at checkout.