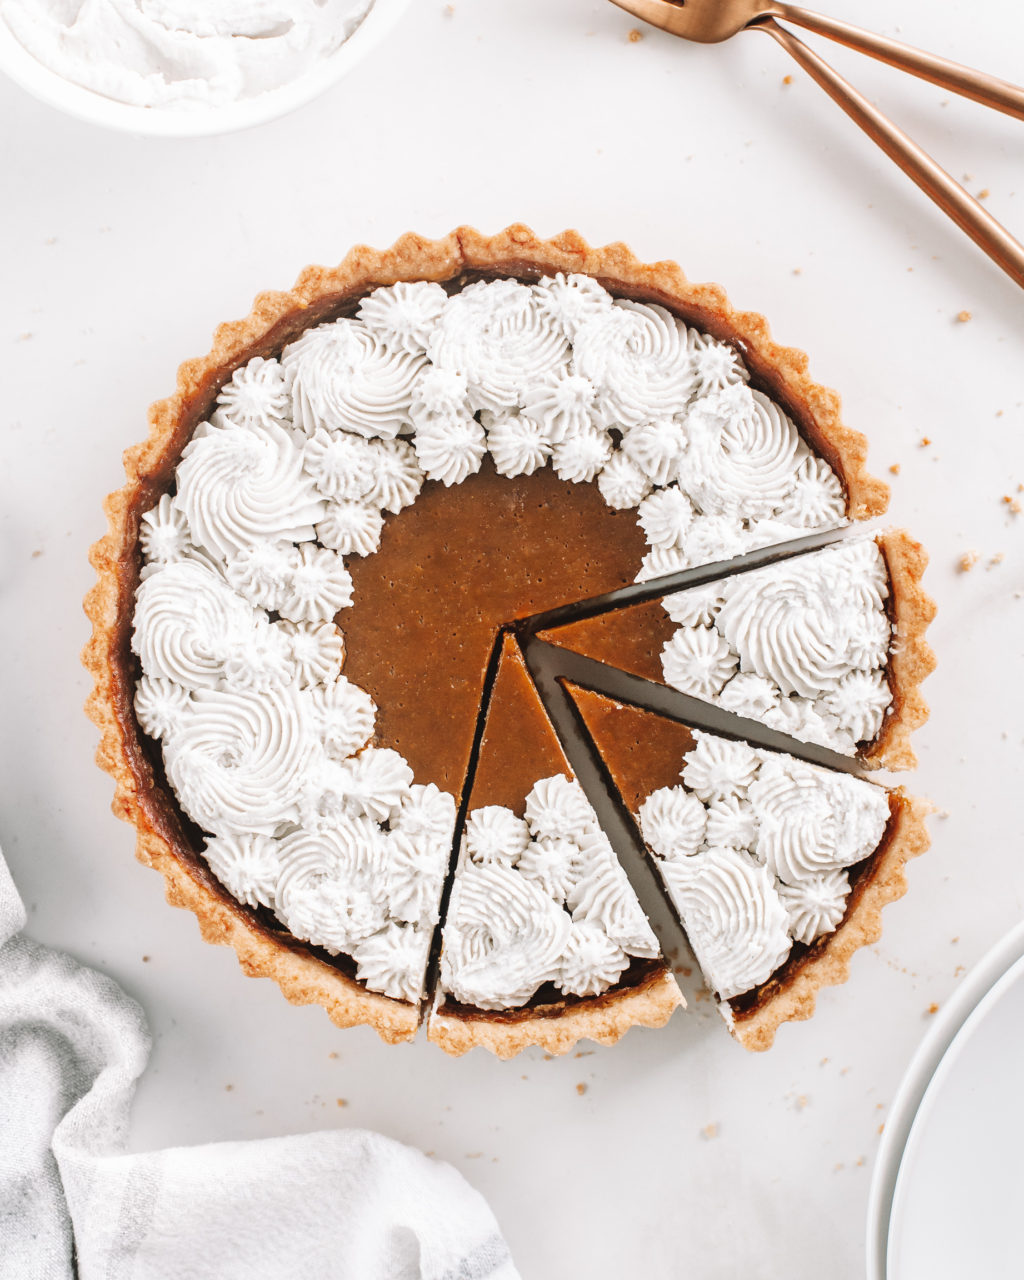
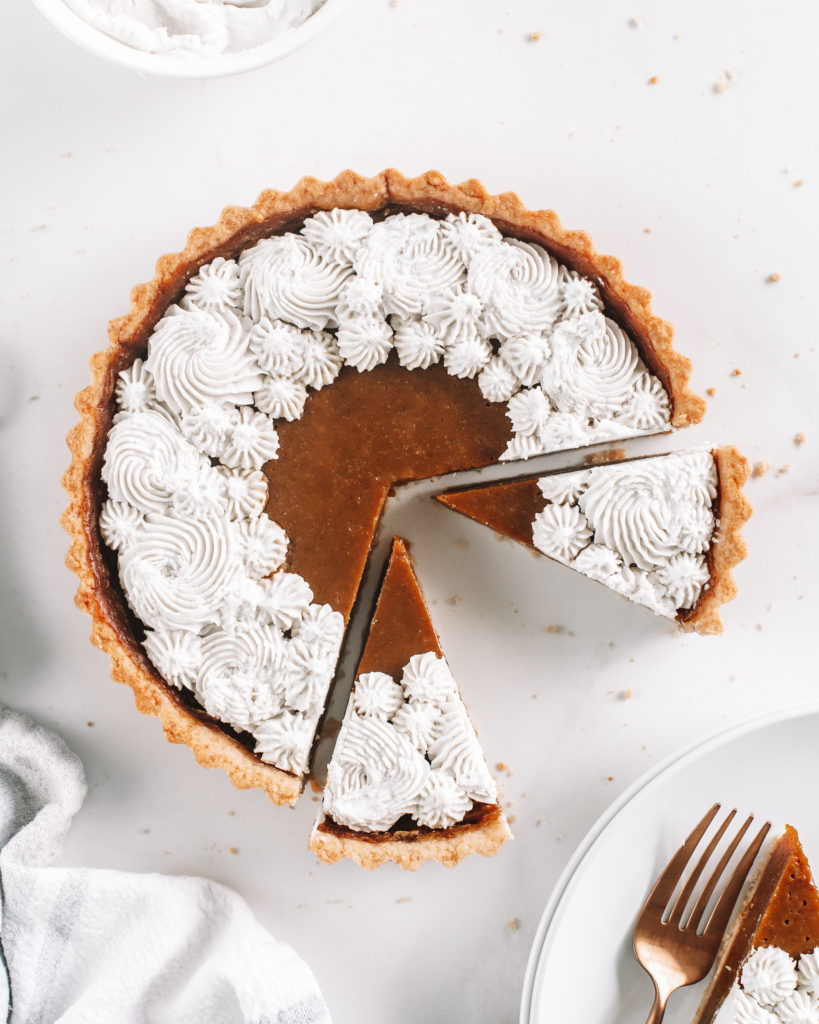
This Vegan Pumpkin Pie recipe is a must-make for the holiday season. The sweet, spiced pumpkin filling inside a crisp, flakey pie crust served with a dollop of vegan whipped cream… I can hear the “mmmmmmm’s” around the dinner table already!
The recipe is not only vegan, it’s also accidentally gluten-free, and can be made sugar-free (see options below).
How to make vegan pumpkin pie filling
Pumpkin pie filling is incredibly easy to make. All you have to do is blend the ingredients until creamy, pour the mixture into your pie crust, bake it, and enjoy!
As for the ingredients, here’s what I used:
- Pumpkin puree
- Full-fat coconut milk
- Date sugar (keep reading for sugar-free alternative)
- Maple syrup (keep reading for sugar-free alternative)
- Vanilla bean powder or extract
- Arrowroot
- Homemade pumpkin pie spice blend (keep reading for the spice list)
- Salt
You can make this vegan pumpkin pie recipe with pumpkin puree from a can (like I did) or you can roast and puree your own pumpkin. It is entirely up to you.
After testing several plant milks, I found that the best one for this vegan pumpkin pie recipe, in terms of texture, is canned full-fat coconut milk. It’s the secret to making this pie extra creamy!
If you don’t like the taste of coconut, don’t worry–once mixed with the other ingredients you can’t even taste the coconut.
You can substitute another plant milk if you’d like, but the filling won’t quite be as rich and custardy. If you do decide to use another milk, though, try to use one that is high in fat for the best texture!
To make the filling for this recipe sugar-free, you can use monk fruit sweetener instead of date sugar, and maple flavored sugar-free syrup instead of maple syrup.
If you don’t have arrowroot on hand, feel free to use another thickener, like tapioca starch.

Pumpkin Pie Spice
You can definitely use store-bought pumpkin spice for this vegan pumpkin pie recipe, but I used a homemade blend consisting of:
You can find the exact measurements in the recipe below.
How to make vegan pumpkin pie crust
Pie crust has to be crispy and flakey, which is easy to achieve with traditional pie crust ingredients (flour, butter, sugar, water, salt). It’s even easy to achieve when you replace butter with vegan butter!
The question is, is it possible to make a pie crust without any vegan butter or oil or flour?
I’m happy to report that it is in fact possible to make a flourless, butter-free and oil-free vegan pastry crust. And it’s way easier to execute than I expected!
To make the pie crust for this vegan pumpkin pie recipe without flour, butter, or oil, here’s what you’ll need:
- Almond flour
- Oat flour
- Arrowroot
- Salt
- Date sugar (or monk fruit for sugar-free)
- Water
Does vegan pumpkin pie need to be refrigerated?
Because this pie has no preservatives, I recommend keeping your homemade pumpkin pie in the refrigerator for up to 3-4 days.
You can also seal it up and freeze it for up to 2 months.
How do the leftovers keep?
This recipe is definitely best the day you make it! While the filling keeps well, the crust will lose some of its crispness. If you don’t mind that, then go ahead and enjoy the leftovers!
You can reheat leftovers in the oven or microwave right before you are ready to eat it, but make sure to only heat the slices of pie that will be eaten in that sitting in order to keep the rest of the pie safe to heat for the next meal.
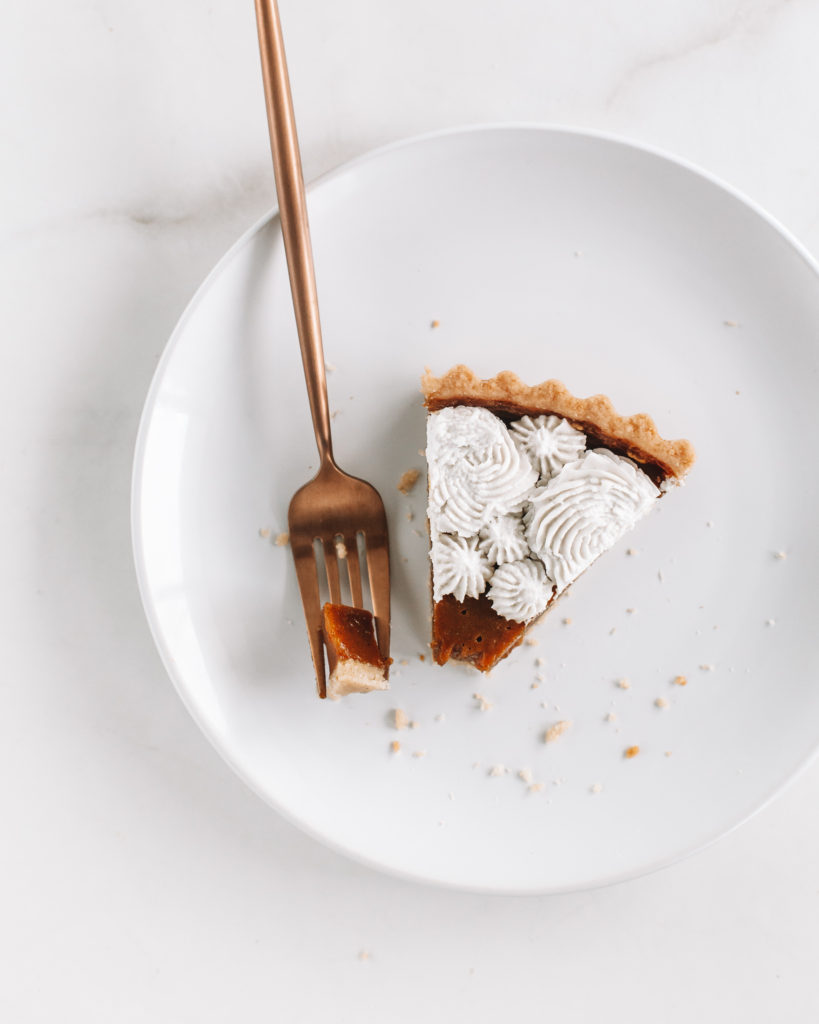
Serve this Vegan Pumpkin Pie warm with some whipped coconut cream or a scoop of Vegan Vanilla Ice Cream!
If you try this recipe, let me know! Leave a comment, rate it, and don’t forget to tag your photos with @healthiir on Instagram! I’d love to hear what you think.

VEGAN PUMPKIN PIE RECIPE
Ingredients
- Pie Crust
1 1/2 cups almond flour
1/2 cup oat flour
1/2 cup arrowroot
2 Tbsp date sugar (or monk fruit for sugar-free)
1/4 tsp salt
5-6 Tbsp water
- Pumpkin Pie Filling
2 cups pumpkin puree
1/4 cup date sugar (or monk fruit for sugar-free)
1/4 cup maple syrup (or maple-flavored syrup for sugar-free)
3/4 cup full-fat coconut milk
1 tsp vanilla bean powder or extract
3 Tbsp arrowroot
1 tsp cinnamon
1/2 tsp ginger
1/2 tsp allspice
1/4 tsp nutmeg
1/8 tsp clove
1/4 tsp salt
- Whipped Coconut Cream
1 can coconut whipping cream
2 Tbsp powdered monk fruit
1 tsp vanilla extract
Directions
- Pie Crust
- Preheat the oven to 350F. Add almond flour, oat flour, arrowroot, date sugar, and salt to a mixing bowl, and mix.
- Add water to the mixture, a little at a time, and mix. The dough should be able to hold together if you squeeze it.
- Transfer the dough to a piece of parchment paper, and roll it out. If the dough sticks to the rolling pin, add a little almond flour. If the dough is too crumbly to work with, you can transfer it back to a mixing bowl and add a little bit of water.
- When ready, pick up the parchment paper, flip the dough onto the fluted pie tin, and peel away the parchment.
- Without tearing the dough or stretching it too much, use your fingers to gently press it into the corners and up against the edges of the fluted pie tin (to shape).
- Using a sharp knife, trim off the excess dough.
- Pre-bake the crust for about 10 minutes before adding the filling. To pre-bake the crust, you’ll want to fill up your crust with pie weights to ensure the crust holds its shape and stays firmly nestled against the fluted pie tin. I didn’t have pie weights so I used un-cooked beans!
- While the crust is pre-baking, roll out the remainder of the dough, then cut it into strips to make a lattice.
- Once the crust is pre-baked, remove it from the oven, remove the pie weights, and set aside to cool for another 10 minutes. During this time, make the pumpkin pie filling.
- Pumpkin Pie Filling
- To a blender, add all filling ingredients, and blend until creamy.
- Transfer pumpkin pie filling into the pie crust, and bake on 350F for 50 minutes to 1 hour.
- When ready, remove the pie from the oven and cool.
- Whipped Coconut Cream
- To a mixing bowl, add coconut whipping cream, monk fruit powder, and vanilla extract, and beat with hand-mixer until soft peaks form.
- Garnish pie with whipped coconut cream, and serve!
Heads up: This post contains affiliate links! If you buy something through one of those links, you won’t pay a penny more, but we’ll get a small commission, which helps keep the lights on. Thanks!